Most people don’t realize their emergency kit is useless until they actually need it. A half-empty backpack with expired batteries and stale granola bars won’t help when disaster strikes. Building a proper emergency preparedness kit means thinking through real scenarios and packing supplies that will genuinely keep your household safe and functional during a crisis.
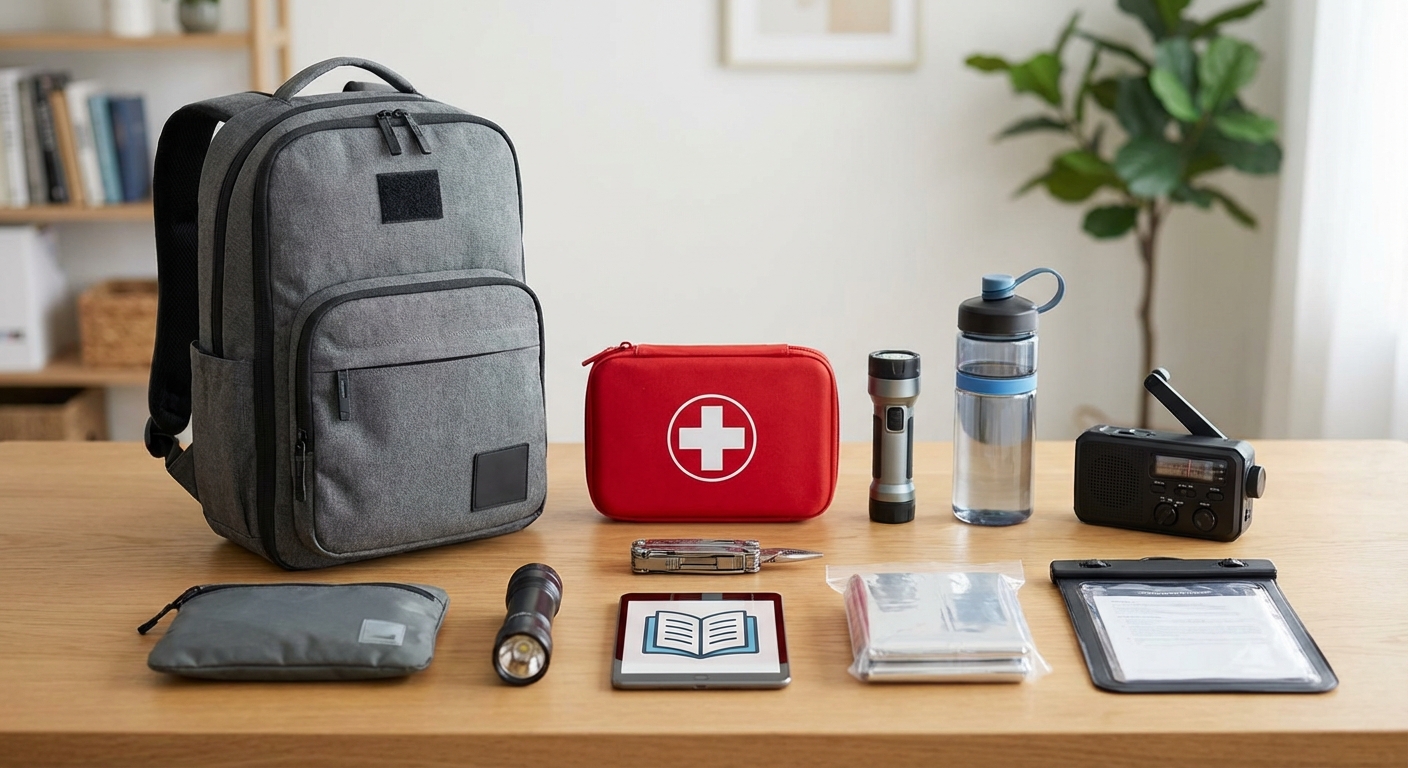
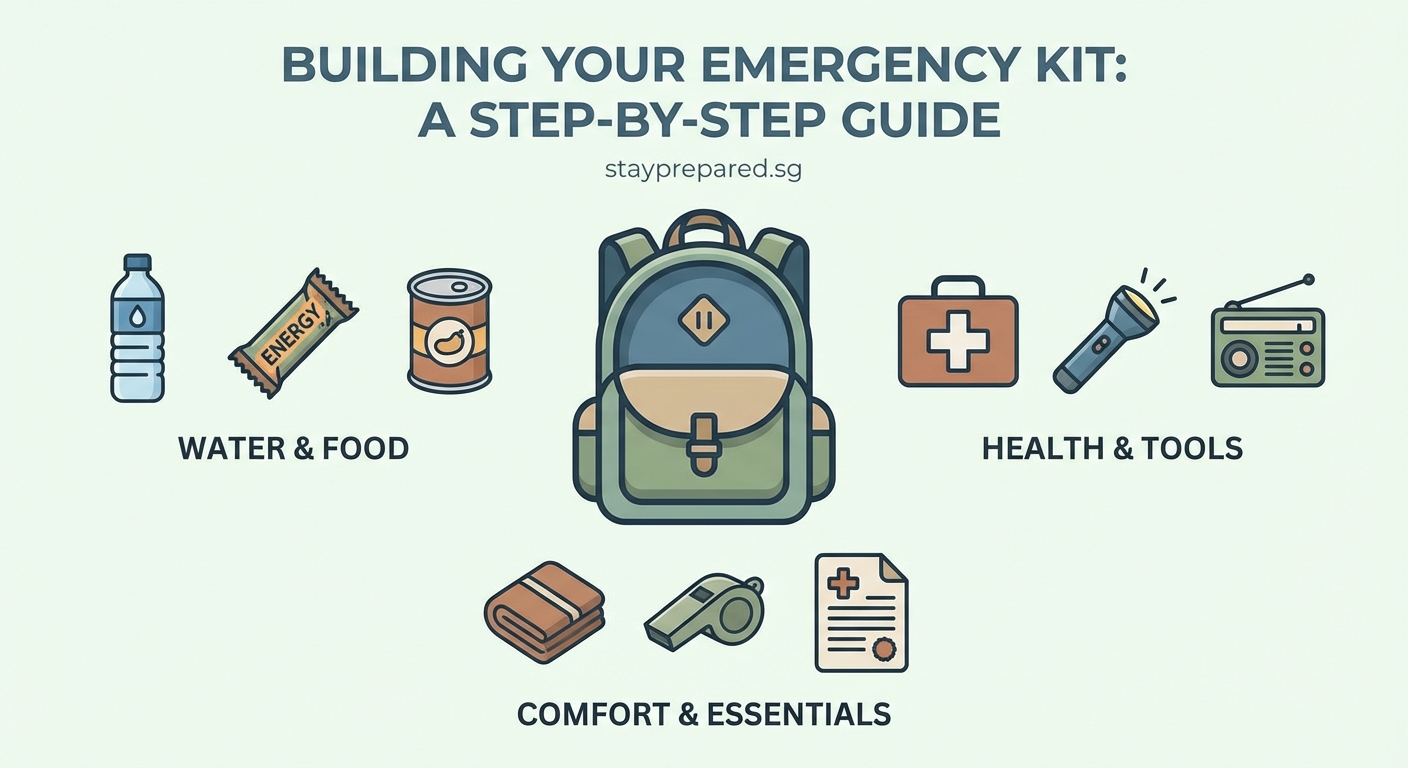
A functional emergency kit requires water, food, medical supplies, lighting, communication tools, and sanitation items stored in accessible containers. Build your kit systematically by category, customize for your household’s specific needs, and rotate perishables every six months. Test your supplies before an emergency happens so you know everything works when you need it most.
Start with the foundation items
Every emergency kit needs the same core categories regardless of your location or household size. These basics keep you alive and relatively comfortable during the first 72 hours of any crisis.
Water tops the list. Store one gallon per person per day for at least three days. That’s nine gallons for a family of three. Use food-grade water containers, not milk jugs that break down over time. Label each container with the fill date and replace every six months.
Food comes next. Choose non-perishable items that require no cooking or refrigeration. Canned goods work, but they’re heavy. Protein bars, dried fruit, nuts, and ready-to-eat meals balance nutrition with portability. Don’t forget a manual can opener if you pack canned items.
A first aid kit handles injuries and medical needs. Include adhesive bandages, gauze pads, medical tape, antiseptic wipes, antibiotic ointment, pain relievers, tweezers, scissors, and any prescription medications your family needs. Add a first aid manual if you’re not trained in basic wound care.
Lighting and communication tools prevent isolation. Pack LED flashlights with extra batteries, a battery-powered or hand-crank radio, and portable phone chargers. Consider a solar charger as backup. Keep important phone numbers written on paper since your phone might die.
“The most common mistake people make is assuming they’ll remember what they need during an emergency. Write down your plan, pack your supplies systematically, and practice using them before a crisis forces you to learn under pressure.” — Emergency preparedness instructor
Build your kit in stages

Trying to assemble everything at once feels overwhelming and expensive. Break the process into manageable steps spread over several weeks or months.
Week one: Water and containers
- Buy or designate two large storage containers with secure lids.
- Purchase water containers and fill them with tap water.
- Label everything with contents and dates.
Week two: Food supplies
- Make a list of non-perishable foods your family actually eats.
- Buy enough for three days, focusing on calorie-dense options.
- Store food in airtight containers to prevent pest damage.
Week three: Medical and hygiene
- Assemble or purchase a comprehensive first aid kit.
- Add prescription medications in childproof containers.
- Include hygiene items like toilet paper, soap, and feminine products.
Week four: Tools and equipment
- Gather flashlights, batteries, and a radio.
- Add a multi-tool, duct tape, and plastic sheeting.
- Include matches in a waterproof container.
This staged approach spreads the cost and prevents decision fatigue. You can adjust the timeline based on your budget and urgency.
Customize for your household
Generic checklists miss crucial items specific to your family’s needs. Think through who lives in your home and what they require daily.
Families with infants need diapers, wipes, formula, bottles, and baby food. Pack at least a week’s worth since supply chains fail during disasters. Include comfort items like a favorite blanket or toy.
Pet owners must stock pet food, water, medications, and supplies. Don’t assume you’ll find pet stores open during an emergency. Add leashes, carriers, and copies of vaccination records.
People with medical conditions require extra planning. Beyond prescription medications, consider backup medical equipment like glucose monitors, inhalers, or oxygen supplies. Keep a list of medications, dosages, and prescribing doctors.
Elderly family members might need mobility aids, hearing aid batteries, or special dietary items. Pack duplicates of essential items they use daily.
Store supplies properly
Even the best emergency supplies fail if stored incorrectly. Temperature, moisture, and accessibility all matter.
Choose storage locations carefully. Basements flood. Attics get too hot. Garages experience temperature extremes that degrade batteries and food. A climate-controlled closet or under-bed storage works better.
Use waterproof containers with gasket seals. Clear bins let you see contents without opening them. Label each container on multiple sides so you can identify it from any angle.
Organize by category and frequency of use. Keep everyday items like flashlights accessible. Store bulk water in a dedicated area. Group food items together so you can rotate stock easily.
Create a master inventory list. Document what you have, where it’s stored, and when items expire. Update this list every time you add or remove supplies. Keep one copy in your kit and another in your phone.
Add category-specific essentials
Beyond the basics, several categories deserve attention for complete preparedness.
Documents and cash
Store copies of identification, insurance policies, bank account information, and medical records in waterproof bags. Include cash in small bills since ATMs and card readers won’t work during power outages. Add a USB drive with digital copies of important documents.
Clothing and shelter
Pack one complete change of clothes per person, including sturdy shoes. Add weather-appropriate items like rain ponchos, warm layers, or sun protection. Include emergency blankets, a tarp, and rope for temporary shelter.
Sanitation and comfort
Toilets stop working without water pressure. Pack plastic bags, cat litter or sawdust, and disinfectant for waste disposal. Add hand sanitizer, soap, bleach for water purification, and personal hygiene items. Include activities like cards or books to manage stress during extended emergencies.
Tools and safety
A basic toolkit helps with repairs and shelter construction. Include a wrench for turning off utilities, a whistle for signaling, local maps, and duct tape. Add work gloves, safety goggles, and N95 masks for protection during cleanup.
Maintain and rotate your kit
Building your kit is only the beginning. Regular maintenance keeps supplies functional and current.
Set calendar reminders every six months to check your kit. Replace expired food, medications, and batteries. Refill water containers. Update documents and contact information. Adjust supplies as your household changes.
Test equipment periodically. Turn on flashlights to verify batteries work. Check that your radio receives signals. Ensure your phone chargers fit current devices. Practice setting up your emergency shelter.
Involve your whole household in maintenance. Kids old enough to understand should know where supplies are stored and how to use basic items. Run through scenarios together so everyone knows the plan.
| Maintenance Task | Frequency | Why It Matters |
|---|---|---|
| Replace water | Every 6 months | Prevents bacterial growth and container degradation |
| Check food expiration | Every 6 months | Ensures nutritional value and prevents illness |
| Test batteries | Every 3 months | Batteries lose charge even when unused |
| Update documents | Annually | Keeps insurance and contact info current |
| Review medications | Monthly | Ensures adequate supply before expiration |
Avoid common mistakes
Even experienced preppers make errors that compromise their kits. Learning from others saves time and money.
Mistake one: Packing foods nobody eats
Stress makes unfamiliar foods harder to stomach. Pack items your family already enjoys. Now is not the time to try new protein bars or freeze-dried meals.
Mistake two: Forgetting special diets
Allergies, diabetes, and other dietary restrictions don’t pause during emergencies. Verify every food item meets your household’s requirements.
Mistake three: Storing everything in one location
House fires, floods, or structural damage could destroy a single storage area. Keep a smaller kit in your car and consider a backup at a trusted friend’s home.
Mistake four: Neglecting practice
You don’t want to read first aid instructions during an actual injury. Practice basic skills before you need them. Set up your emergency shelter in the backyard. Try cooking with your camping stove.
Mistake five: Buying without testing
That fancy emergency radio might have confusing controls. The water filter could require more strength than you have. Test every tool before relying on it during a crisis.
Scale for different scenarios
Different emergencies require different supplies. Customize your kit based on likely risks in your area.
Natural disaster zones need weather-specific items. Hurricane regions require window protection and evacuation supplies. Earthquake areas need heavy-duty gloves and pry bars. Tornado zones benefit from portable weather radios and basement supplies.
Urban environments face unique challenges. High-rise residents need emergency escape ladders or smoke hoods. Dense neighborhoods might experience longer utility outages due to infrastructure complexity. Pack extra water since municipal systems take longer to restore.
Rural locations require self-sufficiency planning. Help arrives slower in remote areas. Expand your supplies to cover at least two weeks. Add tools for basic repairs since contractors won’t be available.
Consider mobility options
Sometimes staying home isn’t safe. A portable emergency kit lets you evacuate quickly.
Build a go-bag with 72 hours of supplies in a backpack or duffel. Keep it lighter than your home kit since you’ll carry it. Focus on essentials: water bottles, energy bars, first aid, flashlight, radio, phone charger, cash, copies of documents, and one change of clothes.
Store go-bags near exits. Every family member should have their own if possible. Kids can carry lightweight versions with snacks, comfort items, and a contact card.
Keep car emergency kits separate from home supplies. Include jumper cables, tire repair supplies, ice scraper, blanket, water, snacks, and a first aid kit. Add seasonal items like hand warmers or cooling towels.
Budget-friendly building strategies
Financial constraints shouldn’t prevent preparedness. Smart shopping makes emergency kits affordable.
Buy gradually instead of all at once. Add a few items each grocery trip. Sales and coupons reduce costs significantly. Generic brands work just as well as name brands for most supplies.
Repurpose containers you already own. Clean food-grade buckets from restaurants often come free. Use old backpacks as go-bags. Save prescription bottles for storing matches or small items.
Focus on versatile items that serve multiple purposes. Duct tape fixes gear and seals containers. Bandanas work as face masks, bandages, or water filters. Trash bags become rain ponchos or waterproof storage.
Join preparedness groups or forums. Members often share bulk purchases, trade supplies, or offer advice on finding deals. Community connections also help during actual emergencies.
Teach your household the system
The best emergency kit fails if nobody knows how to use it. Education turns supplies into actual preparedness.
Walk every family member through your storage system. Show them where each category lives and how to access containers. Explain why items are organized the way they are.
Demonstrate how to use equipment. Practice starting the camp stove, filtering water, and operating the radio. Let kids try turning on flashlights and opening emergency food packages.
Create simple instruction cards for complex tasks. Laminate cards with steps for water purification, basic first aid, or utility shutoff procedures. Store these cards with relevant supplies.
Discuss scenarios without creating panic. Talk about what you’d do if power went out for three days or if you needed to evacuate. Make it practical, not scary.
Your kit grows with you
Emergency preparedness isn’t a one-time project. Your kit evolves as your life changes and you learn what works.
New family members require supply adjustments. Babies grow out of diaper sizes. Teenagers eat more than toddlers. Elderly parents move in with different needs.
Job changes might affect your location or schedule. Update your plan if you’re farther from home during work hours. Adjust your car kit if your commute lengthens.
Moving to a new region means reassessing risks. Coastal homes face different threats than mountain properties. Research local hazards and modify your supplies accordingly.
Learning new skills reduces supply needs. First aid training means you can do more with basic supplies. Knowing how to purify water gives you more options than just storing bottles.
Make preparedness part of life
The goal isn’t creating anxiety about disasters. Building an emergency kit brings peace of mind and practical benefits that extend beyond crises.
Your supplies help during smaller disruptions too. Power outages happen regularly. Roads close due to weather. Having flashlights, food, and water on hand makes these inconveniences manageable instead of stressful.
Teaching kids about preparedness builds valuable life skills. They learn planning, organization, and self-reliance. These lessons apply to school projects, sports seasons, and eventually their own households.
The process of building your kit helps you notice what your family actually needs versus what you think you need. This awareness improves daily life, not just emergency response.
Start today with one category. Buy water containers this week. Add food next week. Before you know it, you’ll have a complete system that protects your household and gives you confidence that you’re ready for whatever comes your way.